A Guide to Glitter Nail Art
Share
Glitter Nail Art with Luminosity Glitter: How to Make Your Nails Dazzle
In the world of nail trends, few styles have the staying power of glitter nail art. Whether you're prepping for a festival, a night out, or just want your everyday manicure to sparkle, glitter nails offer instant glamour and creativity. From shimmering accents to full-on sparkle, there's no shortage of ways to make glitter the star of your next manicure.
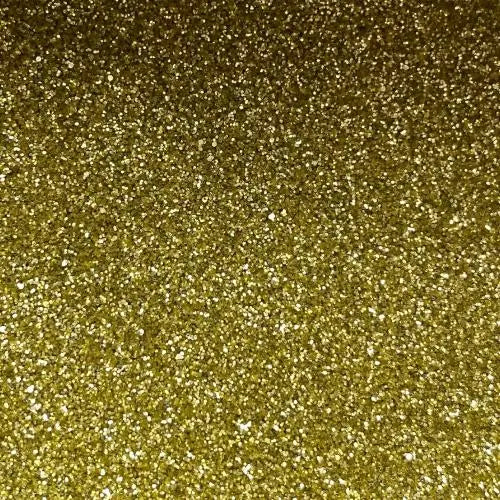
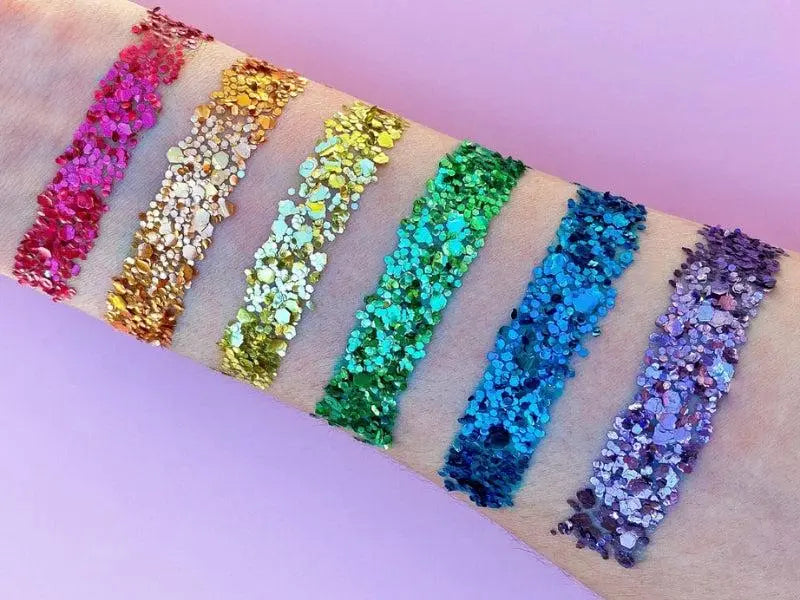
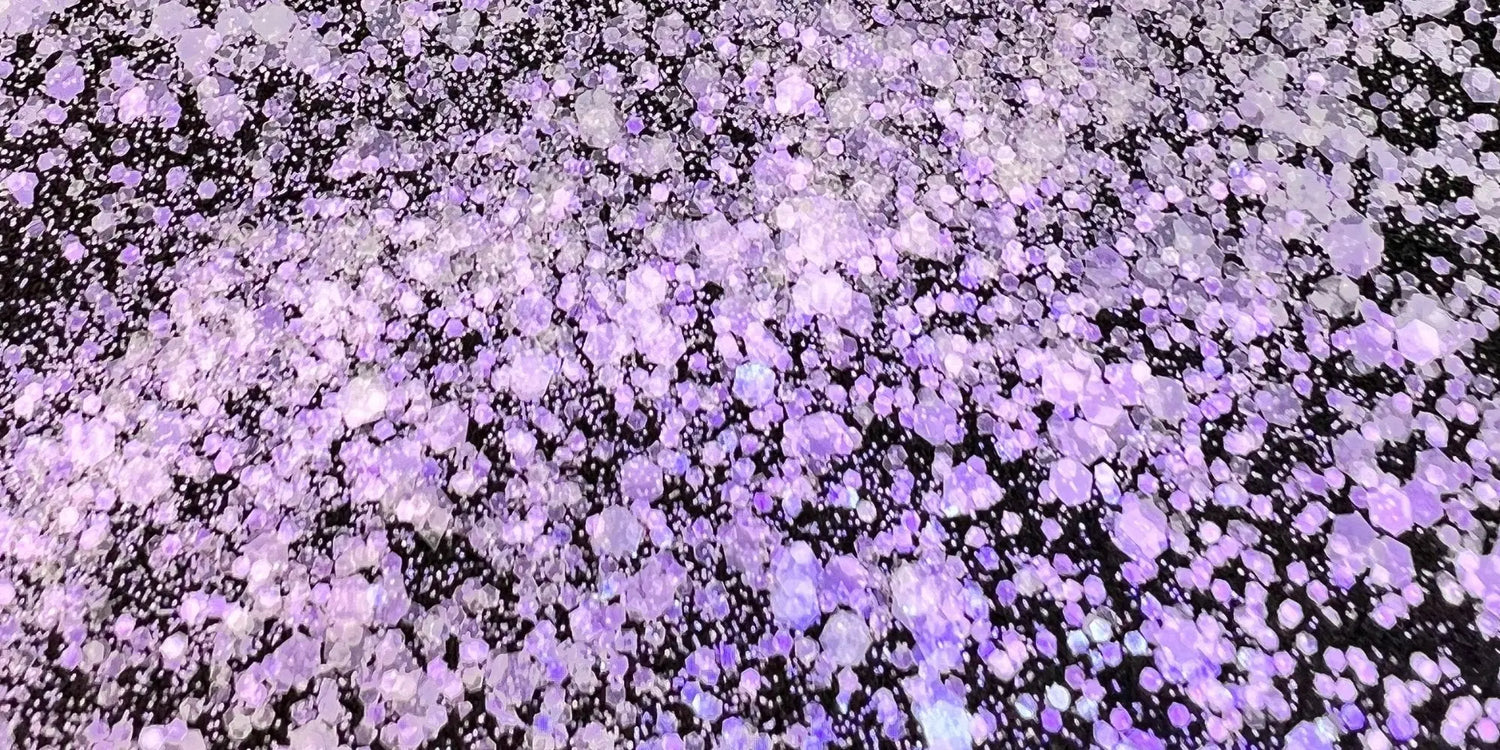
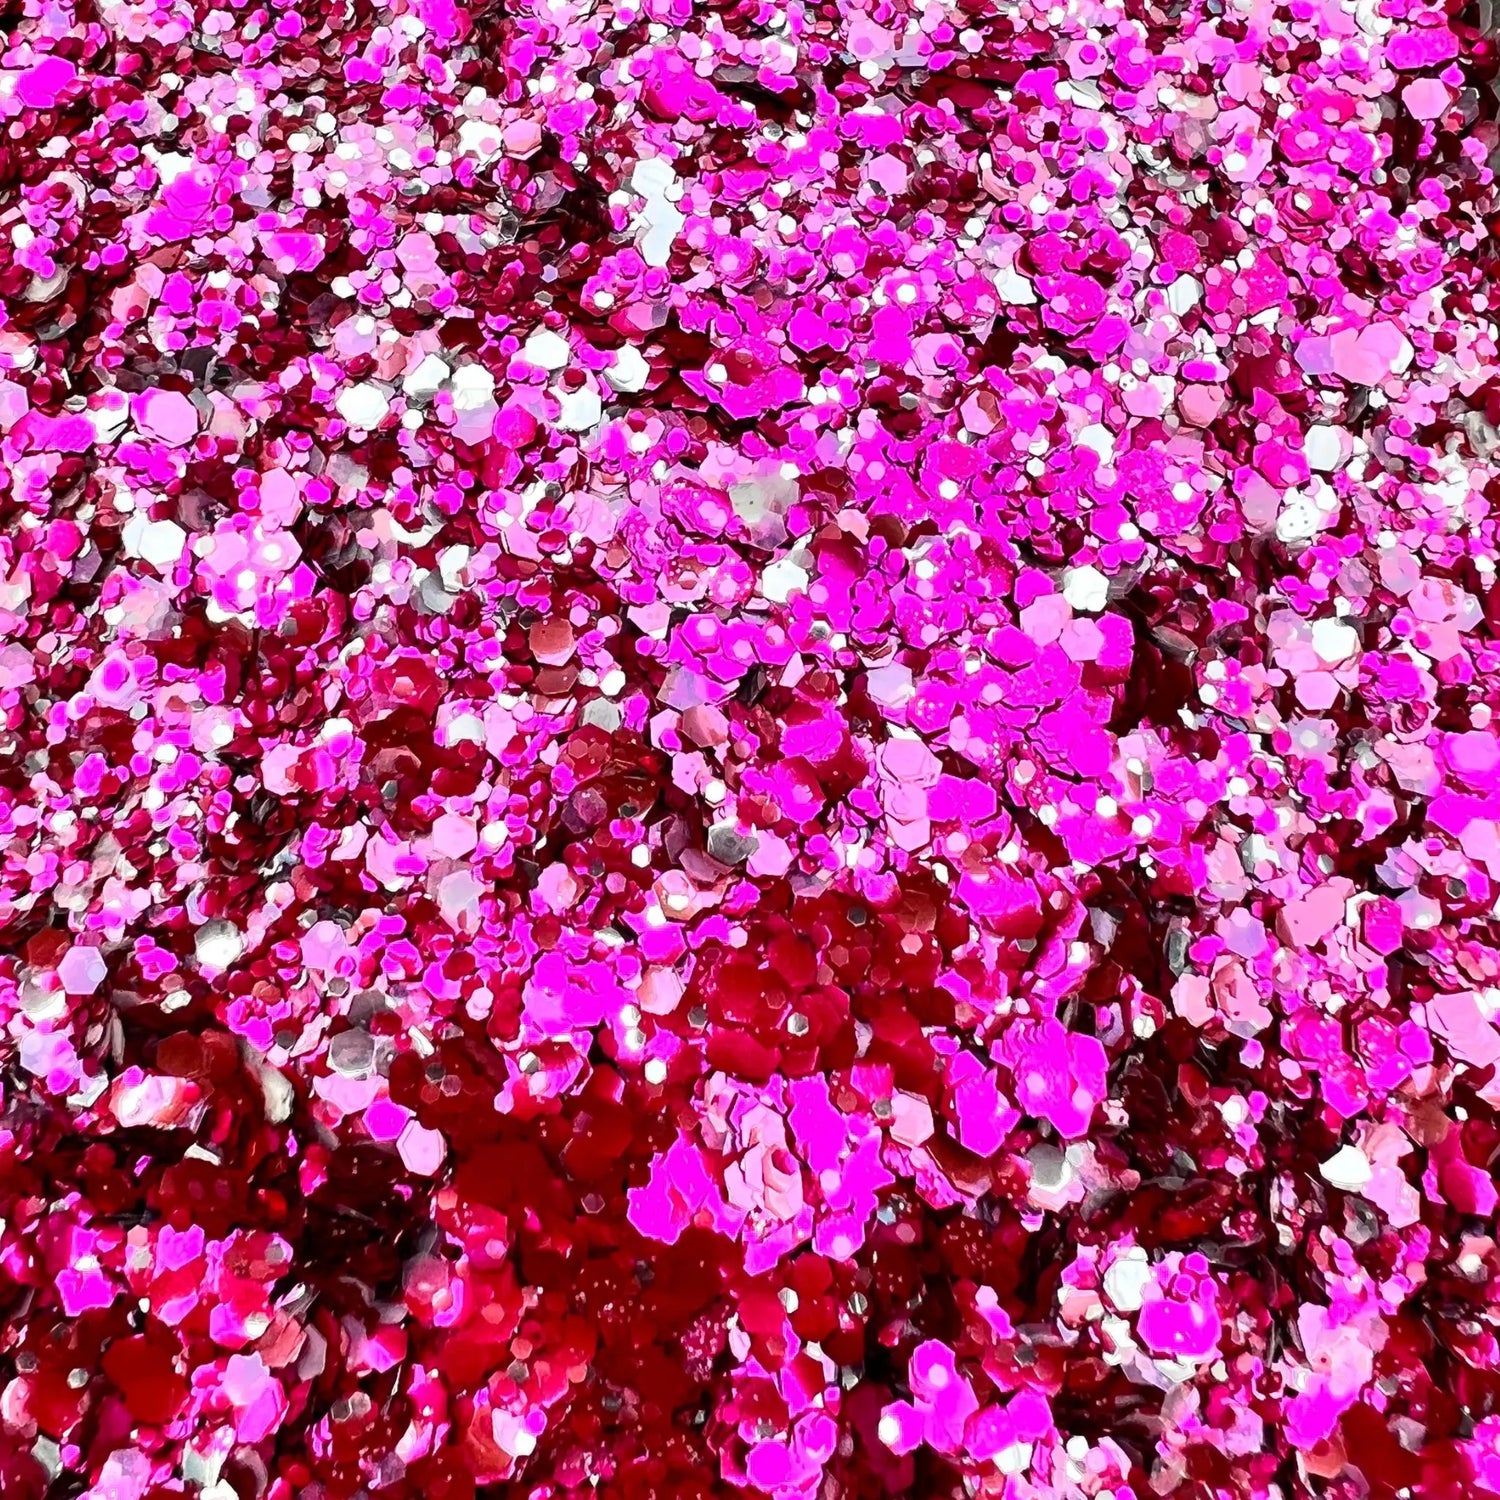
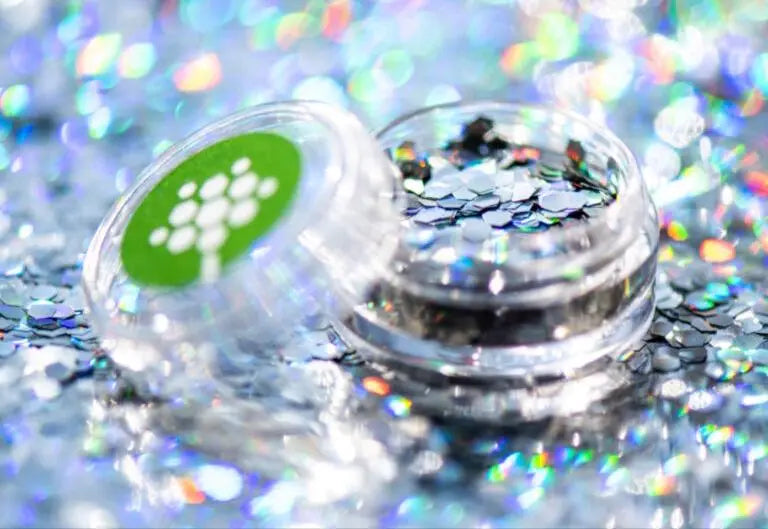
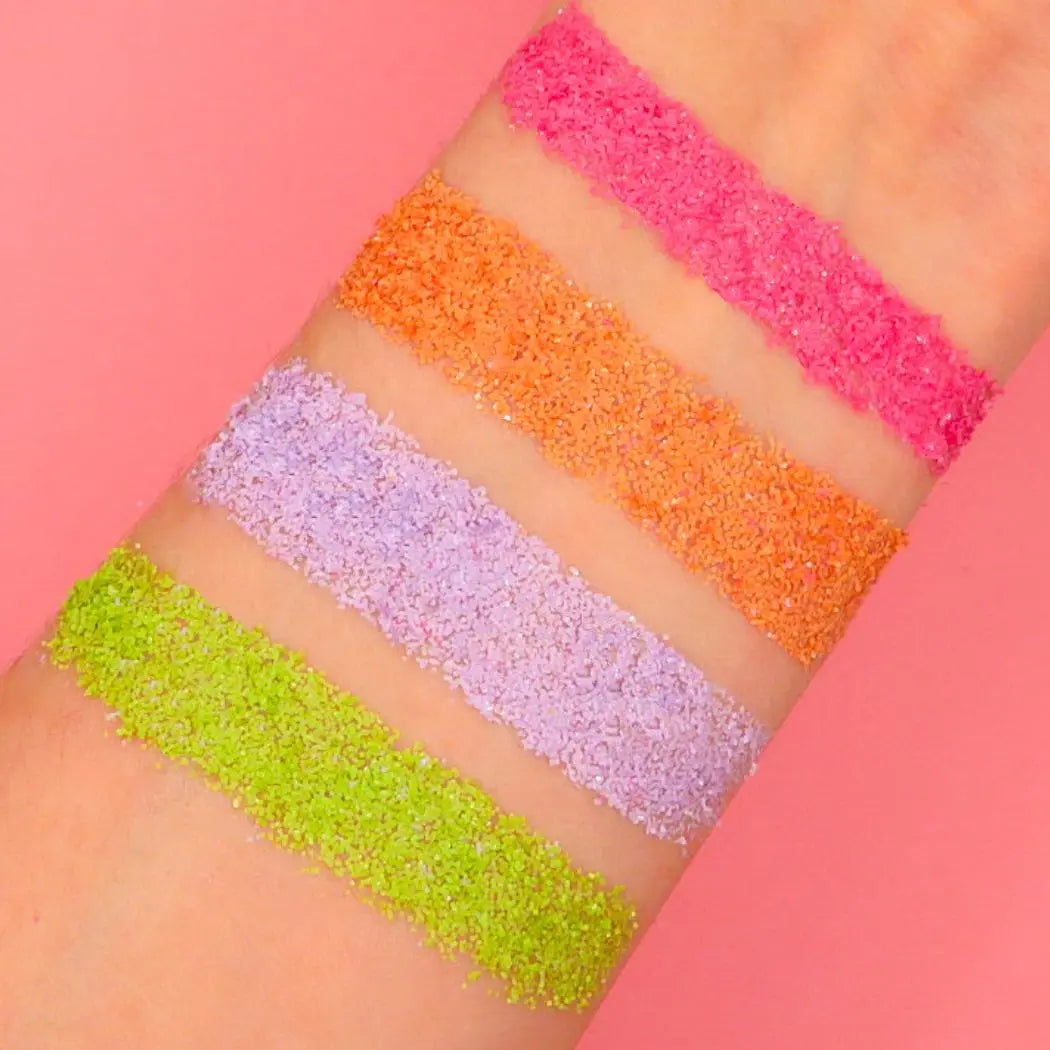
Luminosity Glitter brings a fresh twist to this classic look. With an array of hand-blended glitters made in London, you can create stunning nail designs that are as unique as you are.
How to Prepare for Glitter Nail Art
Before diving into your design, make sure your nails are prepped for maximum sparkle. You’ll need:
-
A base coat
-
Your chosen glitter blends from Luminosity Glitter
-
A small brush or applicator
-
A quality top coat
Start by cleaning, filing, and buffing your nails to ensure a smooth surface. A clean canvas helps glitter adhere more evenly and extends the wear of your design. Make sure your nails are completely dry and free of oil or residue.
Step-by-Step: How to Apply Glitter to Your Nails
Applying glitter nail art is surprisingly simple and fun. Here’s a quick guide to getting it just right:
-
Apply a Base Coat: This helps protect your natural nails and gives the glitter something to grip.
-
Choose Your Glitter & Technique:
-
Full Coverage: Sprinkle glitter over the entire nail.
-
Accent Nail: Focus glitter on one or two nails for a subtle pop.
-
Gradient or Ombré: Concentrate glitter near the cuticle or tips, blending outward.
-
-
Dab, Don’t Rub: Use a brush, sponge, or fingertip to press the glitter onto the wet base coat. Avoid rubbing to keep the particles in place.
-
Seal with a Top Coat: Lock in the sparkle with a glossy top coat. This also smooths the texture and extends wear time.
Glitter Nail Art Design Ideas
Looking for inspiration? Glitter nail art is all about personal style — here are some creative ways to use it:
-
Glitter French Tips: A modern twist on a classic, using bold or iridescent glitter at the nail tips.
-
Negative Space Designs: Use glitter over geometric shapes or leave parts of the nail bare for a chic contrast.
-
Ombré Fade: Layer two or more glitter shades for a seamless gradient effect.
-
Glitter Over Polish: Apply glitter over your favorite base color to add dimension and sparkle.
Pro tip: Mix fine and chunky glitter for extra texture and a multidimensional finish.
How to Make Glitter Nail Art Last Longer
To keep your glitter manicure looking fresh:
-
Use two coats of top coat for extra durability and shine.
-
Avoid soaking your hands in hot water, which can loosen glitter.
-
Wear gloves for cleaning or washing dishes.
-
Keep a small glitter repair kit on hand (glitter pot + top coat) for quick touch-ups.
Why Choose Luminosity Glitter?
While glitter nail art is all about bold self-expression, the products you use matter too. Luminosity Glitter offers premium, high-shine blends that apply beautifully and stay put. Their extensive range of shades — from soft, ethereal sparkles to bold metallics, makes it easy to create endless looks.
Let Your Nails Shine
Glitter nail art is one of the most playful and eye-catching beauty trends and with the right tools and technique, it's also incredibly easy to DIY. Whether you're going full glam or adding just a touch of sparkle, Luminosity Glitter has the perfect shades to elevate your manicure.
So go ahead — get creative, get sparkly, and let your nails be your canvas.